Table of Contents
Traffic Light Project
Introduction
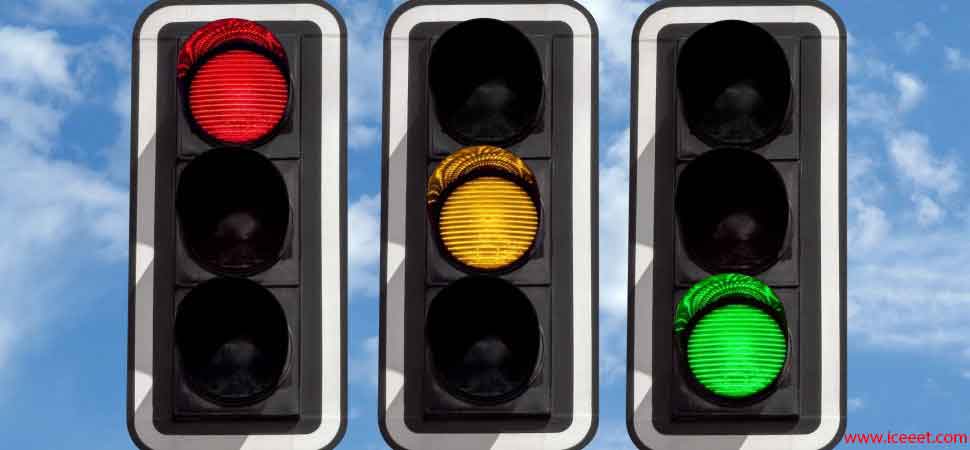
Today, we have come up with another wonderful project. Usually, when we walk on the road, Traffic Light can be seen at certain points of the road. Today we will create a Traffic Light project with the help of some Component. This type of project is not used anywhere but the project is very nice as a presentation. Let’s get started
Required Materials
- Battery 9v – 1 piece
- 555 Timer IC – 2 piece
- Resistor 220ohm – 2 piece
- Resistor (100k, 47k) – 1 piece
- Capacitor (100uf) – 2 piece
- Led (Red, Green, Yellow) – 3 piece
Circuit Diagram

B: When you connect the circuit, try to understand the process and circuit diagram mentioned below.
Circuit Connection Process
- First, connect the pin 4 and the number 8 to the 555 timer (U1) and connect it to the battery positive.
- Connect of the number 1 pin of U1 and U2 timer to the negative point of battery.
- Now connect the first end of the 100k register to pin 8 of the U2 IC and the other end to the positive of the capacitor, the negative end of the capacitor to the negative of the battery.
- Now, connect the pin 2 and 6 of the U1 IC to the connected end of the resistor and capacitor.
- Then connect the negative end of the red led at the pin 3 of the U1 IC and connect the positive edge to the battery positive.
- Now connect the positive end of the capacitor to one end of the 47k register and connect the other end to the pin 3 of the U2 IC.
- Now connect the negative end of the capacitor to the battery negative.
- Then connect the pin 6 and 2 of the IC (U1 & U2) and connect it to the connected part of the resistor and capacitor.
- Now connect one end of the 220-ohm resistor to the battery positive and the other end to the positive of the Led (yellow). Again, connect the negative end of yellow led to pin 7 of the U2 IC.
- Now connect the resistor to pin 3 of the U2 IC and connect the green led positive end in series and connect the other end to the negative of the battery.
Procedure
- Led on-off through the 555 timer IC’s specific timing.
- Here the Led is connected to the output of both the 555 timers. When an input voltage is provided to the 555 timer the timer returns the output periodically. This way the 555 timer controls the Led like Traffic Light. If you want to know the details, please read the circuit analysis.
Circuit Analysis
- Here, the voltage on the input of the first 555 timer (U1) is given at the output at the pin 3 of the result, so that the red led will ignite.
- The length of the red LED will depend on the capacitor charge.
- Now by entering the voltage through the connected resistor on the battery positive terminal, the yellow Led will ignite.
- Here the resistor between the two ICs also provides the Triggering Pulse by a series of capacitors, this Component helps to supply two specific voltage supply.
- The Led series registers used here prevent the Led from going to the Over Voltage.
Caution
- Additional voltage cannot be provided within the 555 timer.
- The voltage and current rating of the 555 timer are: – 15v & 200mA.
- Using good quality Led will provide accurate output.
Let us know if you have any problems creating your circuit.
Owner Of ICEEET
Summary

Article Name
Traffic Light Project | Connection | Procedure | Analysis
Description
we will create a Traffic Light project with the help of some Component. This type of project is not used anywhere but the project is very nice as a presentation. Let's get started
Author
Dibbo
Publisher Name
iceeet
Publisher Logo


1 comment
Hi my loved one! I wish to say that this post is awesome, great written and include almost all significant infos. I’d like to see more posts like this .|